- Home
- Trapping Moles
- Victor Mole Trap
Victor Mole Trap
This post may contain affiliate links so I earn a commission.
The Victor mole trap is used by many professional trappers and is widely known as the best mole trap on the market today.
Labeled the Victor Out O'Sight mole trap, it uses two steel scissor like jaws that sit below ground level.
When placed on an active mole tunnel, the trap is very effective and easy to use.
How many times have you talked to someone who has a mole problem and they've tried everything on the market to kill them without success.

Mole repellants and mole poison can have mixed results, but a well placed trap can be deadly.
If you're determined to get rid of moles in your lawn or garden, using an Out O'Sight mole trap is the best way.
However, since the steel trap is very powerful and potentially dangerous it's important to fully understand the trap and use caution when setting it.
Setting The Victor Mole Trap
Setting the trap in an active mole tunnel is the most important step for trapping a mole.
No matter what trap you use or how "perfect" the trap is set, trap location is critical.
To find an active tunnel step down on a small portion of the tunnel and check it the next day to see if the tunnel is raised.
Raised dirt indicates an active tunnel.
If you have a mole in your yard you'll notice several tunnels heading in multiple directions.
Look for a long straight tunnel that connects other smaller tunnels that branch out.
This longer tunnel is generally used the most and is a great place to set a trap.
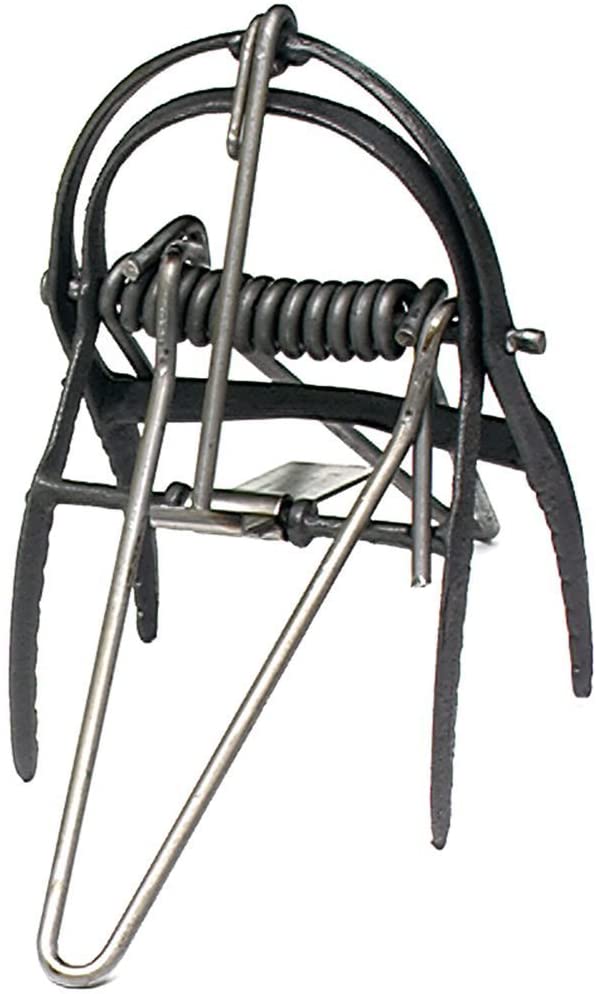
The Victor Out O'Sight mole trap comes with one steel trap and two setting tongs.
The tongs are used to open the trap and compress the powerful spring.
The trap retails for around $15 - $20 and can be purchased at large home improvement stores or online.
Once you have found an active mole tunnel, dig out a small section of the tunnel that's about the size of the trap.
I generally just use my hands since we have really sandy soil but a small trowel or shovel will work.
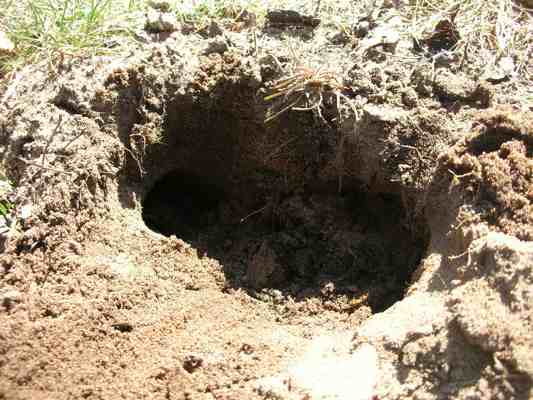
Here's a view after the small hole has been dug.
Can you see the mole tunnel?
This is the path the mole will be traveling through as it enters your trap.
Before you set the trap, take the trap jaws and score a channel in the dirt hole with the jaws.
This will allow the jaws to close freely when the trap is sprung.
Once your hole is prepared, use the setting tongs to set the trap.
The springs on the trap are really strong and it takes a little effort to open it up.
Once the trap is open, set the safety latch to prevent injury from an accidental trip.
Once the safety has been latched you can set the trigger latch on the trigger pan.
Your trap is now set and should look like this:
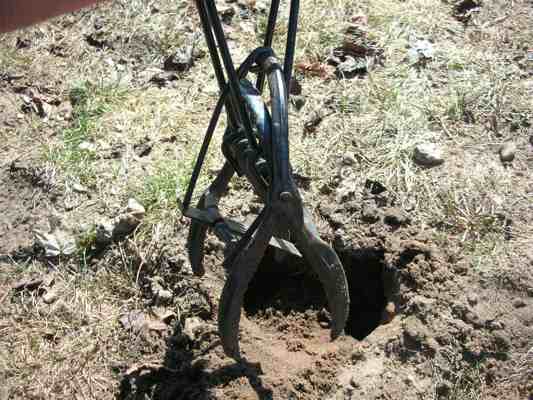
Once the trap is set the next step is to prepare the tunnel.
Scoop out a majority of the dirt from the hole you dug but leave behind a small mound in the middle.
This mound will set directly under the trigger pan.
When the mole enters the tunnel it will encounter this small amount of dirt.
As it burrows past the dirt it will raise the trigger pan which activates the trap.
The small mount of dirt you place under the trigger pan is basically a road block.
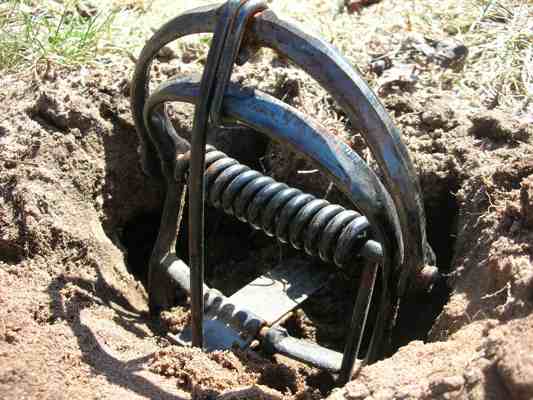
Here's another view of the Victor mole trap.
Notice how the open jaws are parallel with the mole tunnel and the trap pan is resting on the small mound of dirt in the middle?
The last step is to cover the trap and remove the safety.
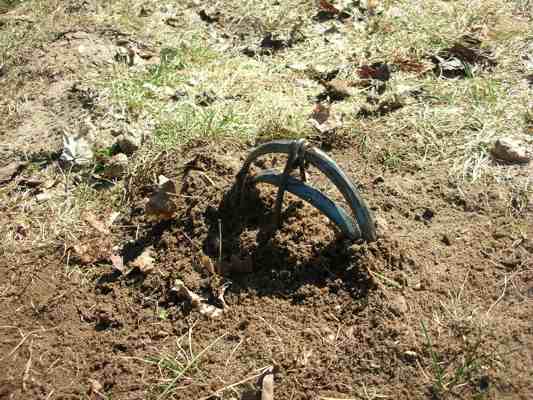
This is how the trap looks when the set is complete.
Approximately 5 hours after I made this mole set, the trap was successful at catching a mole.
Victor Mole Trap - Overall
The Victor mole trap is a great trap and I highly recommend it.
It does require the use of setting tongs and a little practice but the trap is absolutely deadly on moles.
The solid steel construction will last for many years and the traps are fairly cheep so you can purchase two or three traps to cover multiple tunnels across your lawn or garden.


