Dyeing And Waxing Traps
This post may contain affiliate links so I earn a commission.
The process of dyeing and waxing traps plays an important role in becoming a successful trapper.
Although some furbearers are more "trap shy" than others, it's important to dye and wax your traps for several reasons.
So why spend time and money with this messy but important process?
Dye protects your traps from steels worst enemy, rust.
Rusty traps don't function smoothly and over time the rust will pit and weaken the steel.
Plus, the dye turns you traps into a dark, natural color allowing them to blend into your set, hopefully avoiding detection.
Applying wax to your traps helps protect the dye you just applied and it also helps protect the trap from odors, something that's very important if you plan on trapping fox or coyotes with a foothold.
It's not absolutely necessary to dye or wax your traps.
In fact, it's more of a personal preference but it's a step I always make time for.
However, if you plan on applying wax it's important only to wax to a foothold trap and don't apply wax to a conibear trap.
If you wax a conibear, also known as a body gripping trap, the wax causes the dog and trigger to become slippery and hard to latch.
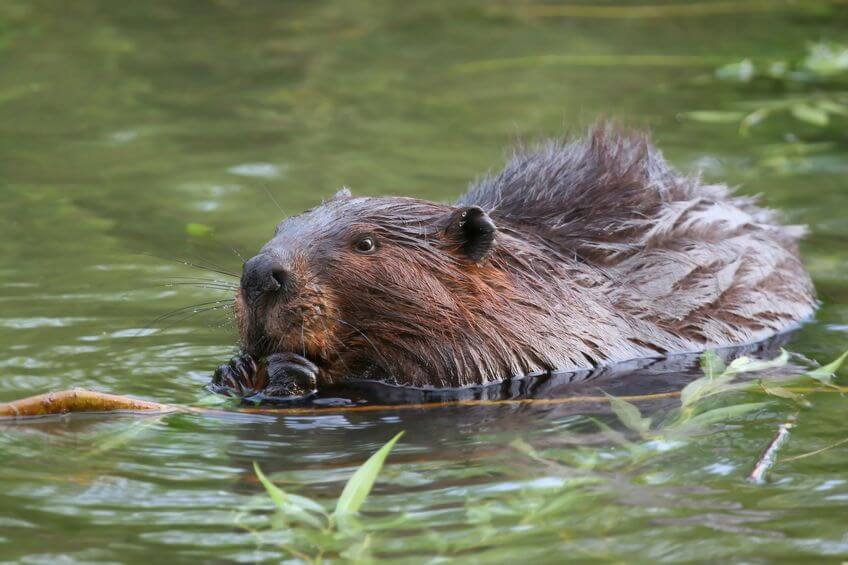
This makes the trap hard to set and it becomes easy to spring, making them dangerous, especially if you're using large beaver traps like a 330.
You can still dye a conibear trap, just skip the waxing process and save the wax for your footholds.
Dyeing And Waxing Traps - Types Of Dyes
There are a lot of natural substances that can be used when dyeing and waxing traps.
Black walnut hulls, sumac seeds, and oak or maple leaves all work great.
These natural substances contain tannin.
When boiled, the tannin is released into the water which reacts with the surface layer of steal and allows the dye to bond to the metal.
Although these natural substance work great for dying a trap, the most preferred method uses logwood dye that can be purchased at almost any trapping supply store.
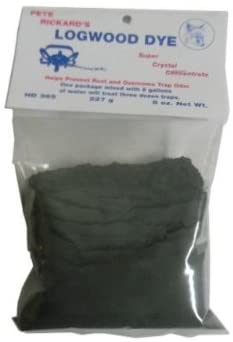
You simply add the powder to a boiling pot of water and you're ready to dye your traps!
Some people choose to use paint instead of a dye.
Paint not only leaves a unwanted residual smell, it doesn't adhere or bond to the metal like a good dye and the paint will eventually flake off.
Another option uses "speed dip" which is a concentrated petroleum based product that needs to be thinned with either gasoline or lantern fuel when used.
Although this process is quicker because it doesn't require boiling your traps, the use of gasoline can leave a residual odor on trap for several weeks.
In this demonstration we are using logwood dye, mixed with boiling water.
Dyeing And Waxing Traps - Trap Preparation
There are basically two different types of traps.
The bright, shinny, greased up ones fresh out of the box or dirty, rusty old traps that have been used for years.
New traps that are greasy and don't have any rust on them will not take the dye very well.
If you have new traps from the factory you will need to boil them in soapy water to remove the factory applied oil/grease from the traps.
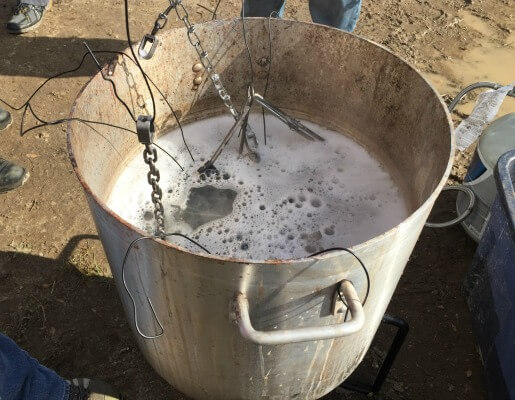 Boiling New Traps In Soapy Water
I like using a dedicated turkey fryer pot for boiling, dyeing and waxing traps.
The propane turkey frier is easy to light and the temperature is easy to control.
Although some people wash their new traps in the kitchen sink, I recommend doing the whole process outside.
To begin, submerge the new traps into the boiling soapy water.
Leave the traps submerged for about 5 minutes until all of the oil has been removed.
In this picture we're using a bent clothes hanger to pull the traps out of the boiling water.
Once the traps are clean, dip them in a bucket of clean water to wash off any leftover soap.
Dyeing And Waxing Traps - Adding Dye
Now that the oil is removed from the traps you must allow the traps to rust a little bit before dipping them into the dye.
The dye needs a thin coating of rust to adhere to the trap.
To get the traps to rust you can either set them outside for about a week, or to speed up the process you can spray them with vinegar and water.
If you're using older traps, you don't need to do this step.
Simply brush off any dirt on the traps and they are ready to be dipped in the dye.
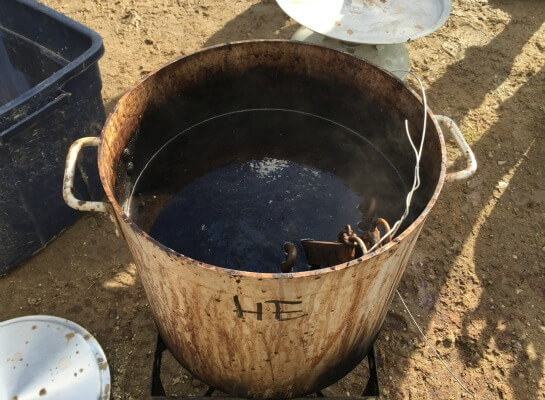 Dipping Traps In Logwood Dye
Mix up the dye to the manufactures specifications.
The logwood crystals will quickly dissolve in the water and the turkey fryer will heat up the mixture pretty quick.
Once the mixture is ready, slowly lower your traps into the dye.
I like to tie some wire or use a clothes hanger to submerge the entire trap while protecting myself from the hot liquid.
Allow the traps to sit in the boiling dye for about 20-30 minutes.
The exact time is not a science, but you want to give them enough time to get good coloration from the dye.
Some people have concerns the boiling dye will weaken the springs on the trap.
I think this is a myth and should not be a concern.
It should take a lot more heat than boiling dye to alter the temper of the steel or springs of the trap.
Waxing Foothold Traps
After the traps have been dyed, let them thoroughly dry before attempting to wax them.
I like to let the traps hang by their attached chains until I'm sure all of the moisture is gone.
If your traps a not completely dry they will create a reaction when you dip them in the wax.
The reaction in similar to putting water into hot oil.
To much moisture can cause the wax to boil over and potentially start a fire.
Also, wax can spontaneously ignite if the temperature gets too high.
Once the wax is melted, decrease the temperature of the turkey fryer and keep it just hot enough to keep the wax in a melted state.
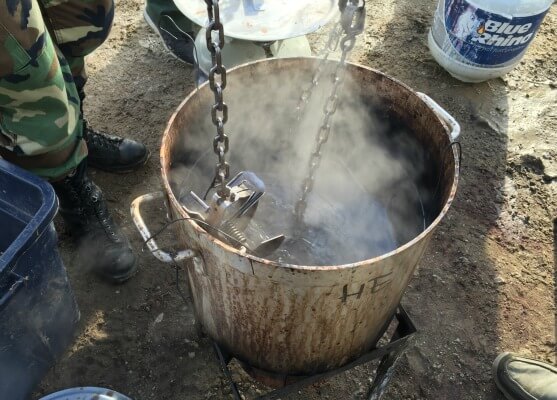 Dipping Traps In Paraffin Wax
I like to keep a pair of gloves and the top to the turkey fryer nearby in case the wax starts on fire.
If it does ignite don't panic.
Just turn off the heat source and place the cover on the pot to snuff out the flames.
Add the traps to the wax the same way you did when you dipped them into the logwood dye.
Slowly place them in the melted wax and let them sit for about 5 minutes.
When you remove the traps they should contain a nice, thin layer of wax.
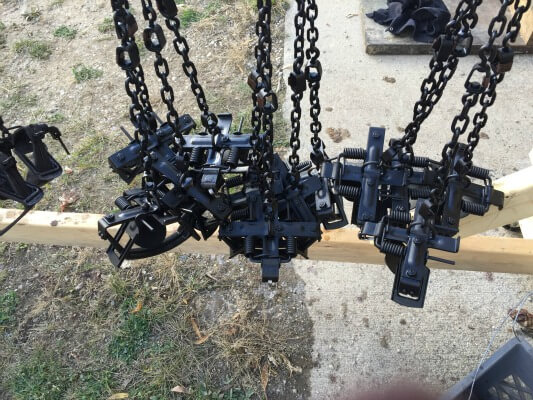 Hanging The Finished Traps To Dry
Finally, hang your traps so they can dry and you're done!
I have a frame built out of 2x4's that works really well for hanging the traps on.
Of course, the 2x4 frame is not necessary for dyeing and waxing traps but it does make it very convenient.
Overall - Dyeing And Waxing Traps
Dyeing and waxing traps can be an enjoyable outdoor experience on a nice fall day.
With a little bit of time and preparation, you can keep your traps in great condition and they will last for many years.

Recent Articles
-
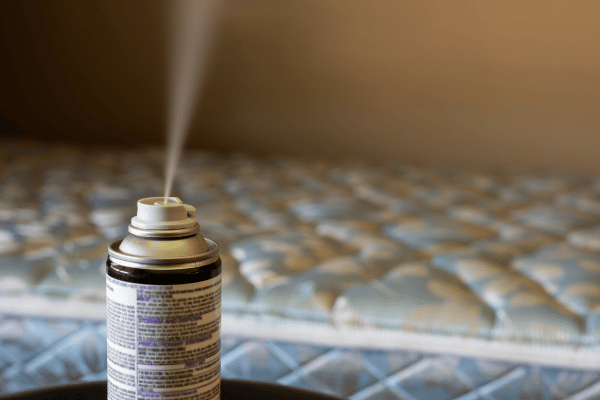
The Best Spray For Bed Bugs - Top Reviews And Natural Remedies
 How to choose and apply the best spray for bed bugs at home to kill them instantly. Learn if sprays work better than heat or diatomaceous earth for bed bugs.
 -
6 Best Essential Oils For Ants - Get Rid Of Ants Naturally
Are essential oils for ants the best way to naturally remove them from your home? Learn how to use peppermint, cinnamon and other oils to get rid of ants fast. -
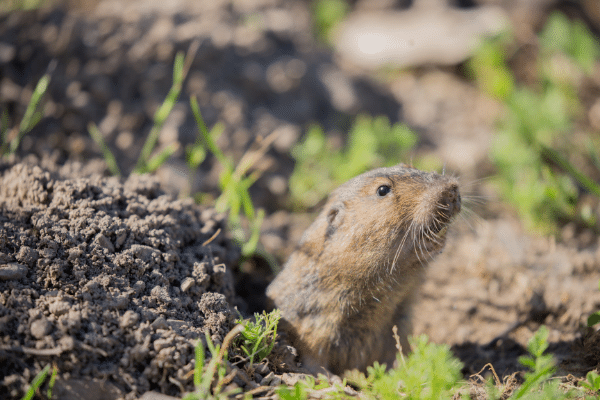
Trapping Pocket Gophers - How To Get Rid Of Them
Learn the best tips and ideas for trapping pocket gophers in your lawn, field or garden. Explains how to locate a tunnel and properly set an effective trap to kill a gopher.