- Home
- Trapping Mink
- Mink Box Plans
Mink Box Plans
This post may contain affiliate links so I earn a commission.
These mink box plans create an easy way to build your own conibear box for trapping mink.
Using a box on your trapline offers a great way to trap mink later in the season when things start to freeze up.
Common sets like pocket sets or cubby sets which use foothold traps near the water work great for trapping North American mink, but they will freeze up after a cold night which makes the set ineffective when ice starts to form.
Building a box to hold a conibear trap for mink accomplishes a few things.
First, the box simulates a cubby or tunnel which a curious mink will find very appealing.
Mink love to squirm in and out of small areas as they search for food and they'll typically check out every hole or tunnel they come across which is why these boxes can be so effective.
Second, because the conibear trap is positioned inside the box and out of the rain and snow, it prevents the trap from freezing up.
This allows you to effectively use this set later in the season.
Although the boxes are somewhat cumbersome to carry, they give you the ability to make a set virtually anywhere along a stream or riverbank that shows sign of mink present in the area.
Plus, as an added bonus the boxes are simple and cheap to make using scraps of wood found around many homes.
110 Or 120 Conibear?
Since these are land based sets that commonly attract raccoons, I only use a 120 conibear and avoid using 110s.

When you're making blind sets or bottom edge sets for mink a 110 works great, but in a box set a 110 just isn't strong enough to hold a raccoon.
The 120's are the same size as a 110, each having a 4 1/2 inch jaw spread, however they have two springs which usually is enough strength to hold a large raccoon that checks out your mink box.
Plus I think the two springs on the 120 help stabilize the trap inside the box and prevents it from rocking back and forth.
Mink Box Plans - Let's Get Building
Since these mink box plans are pretty basic and only require a few common tools, the project will only take you about 30 minutes or less to complete.
Although you can use scrap plywood, I like to use a piece of 1'' x 8'' pine board.
The boards actually measure .75'' x 7.25'' making them a great width for the mink box. Plus a 6 foot board from my local Menards home improvement store was only $4.
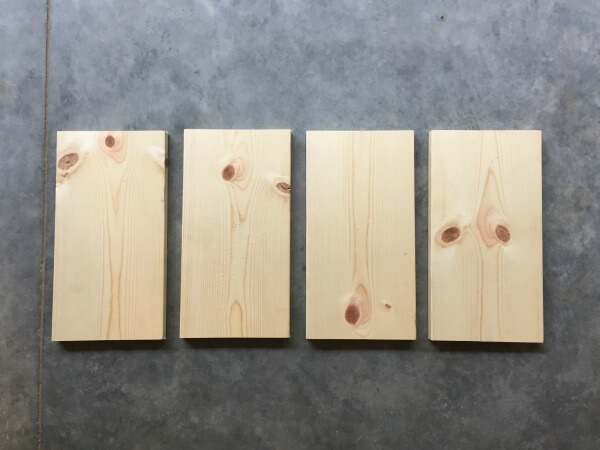
Start by taking the 6 foot board and cut 4 pieces at 14 inches in length.
You will have a little wood leftover but I've found a box that's 14 inches deep is a great length and works really well.
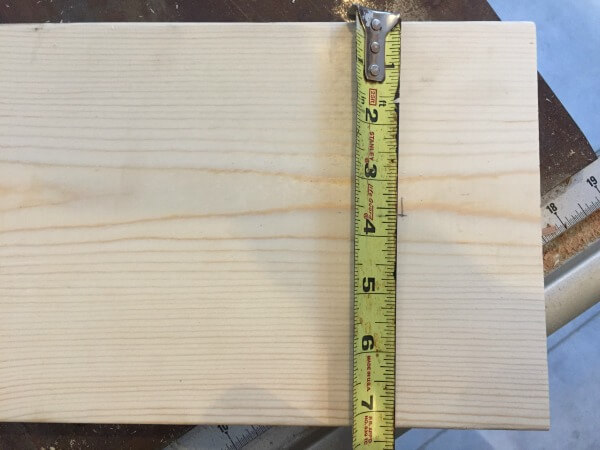
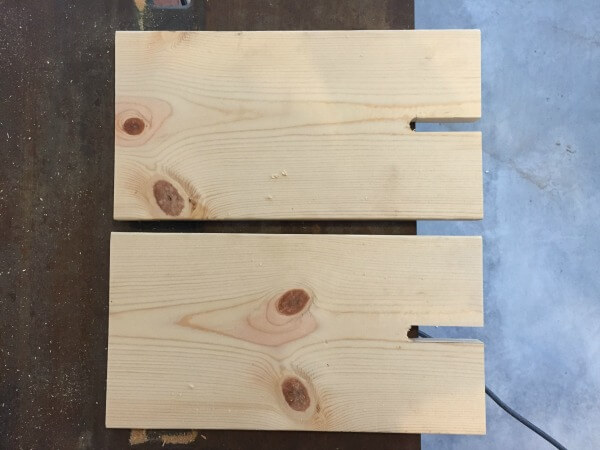
Next, measure down 3 5/8'' which is the center of the board and back 2 1/2'' from the end.
Do this on 2 boards since these will be the side boards that will have the slot cut out of them for the trap springs.
Once the measurements are complete, take a 1/2'' drill bit and drill a 1/2'' hole on the mark.
Do this for both side boards.
Using a square, mark lines to the end of the board. These marks will be cut using a table saw or hand saw to create the spring slots.
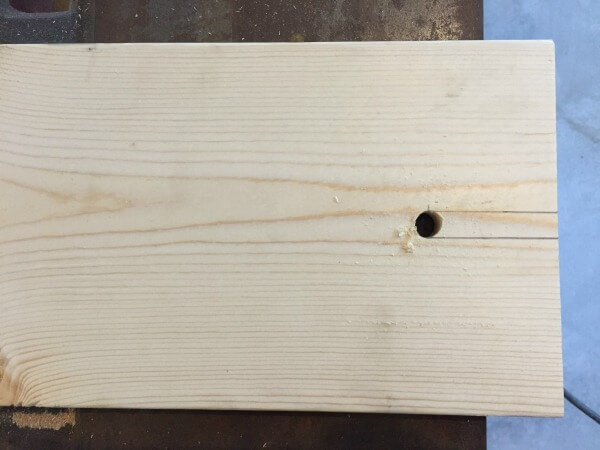
The two side boards should now look like the photo below.
I've found it's easiest to use finish nails to assemble the box.
Screws will work too, but you have to be careful of splitting the wood, so a finish nail is better.
Start by pounding the finish nails around the outside edge of the side boards as shown in the picture below.
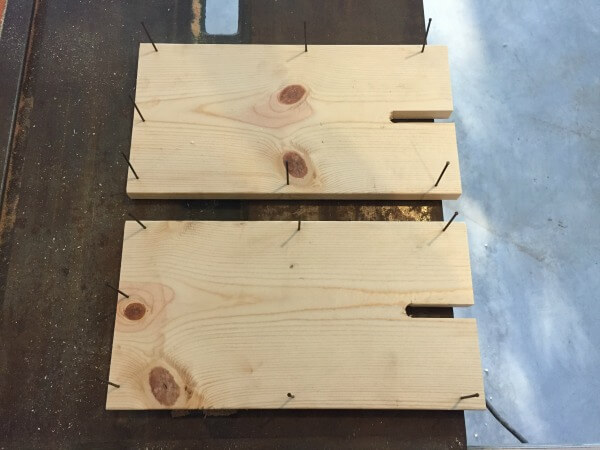
Once you have the finish nails started, align the side boards and pound in the nails.
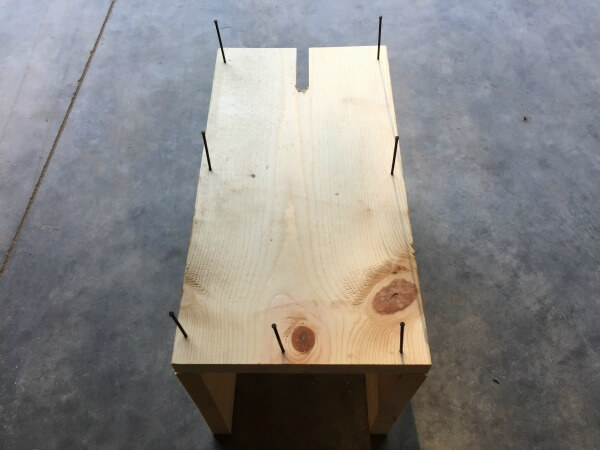
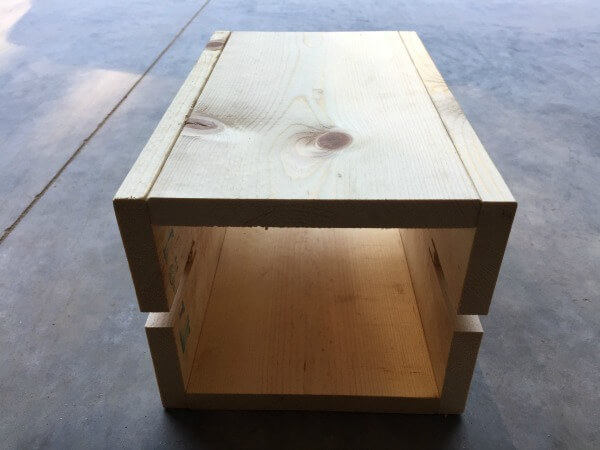
Once you have one side attached you can flip it over and attach the other side, making the box.
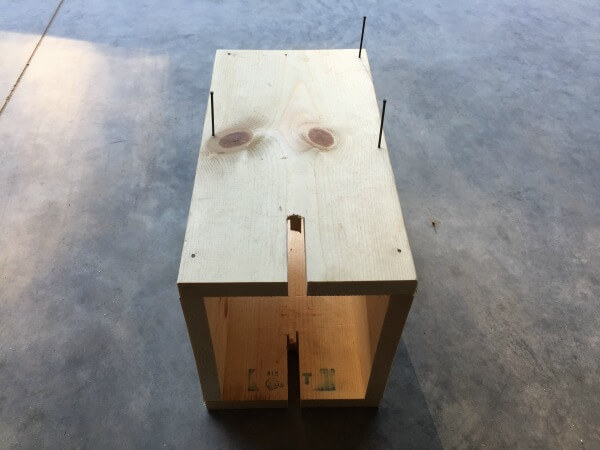
The assembled box should now look like the photo below.
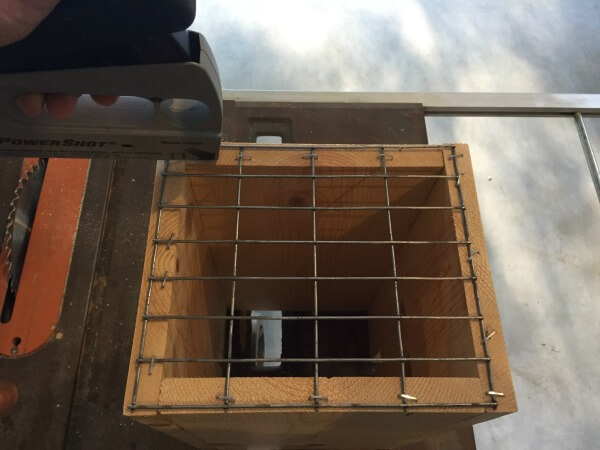
Next take a piece of 1/4 inch hardware cloth or small wire fencing and cut a square that's 7'' by 8'' to cover up the back of the box.
I used a piece of wire I had left over from making some muskrat colony traps.
It's important to use wire and not just wood on the back of the box because the open wire will allow the wind to carry the smell of the bait through the box making it easier for the mink to find the bait.
Secure the wire square to the back of the box using staples from a hand staple gun.
That's it....you're done with the mink box plans!
Mink Box Plans - Setting The Trap
Although these mink box plans don't use treated wood the box should last for many years.
I actually prefer the boxes to be a few years old because they have a more weathered and natural look to them.
If you have time you can set the boxes outside for a couple of weeks before you use them to help weather the wood.
When baiting the mink box I like to use muskrat.
Muskrat works great and as the trapping season progresses it's usually easy to obtain.
Place the bait approximately 2/3's of the way into the box.
Don't place the bait all the way to the back against the wire mesh since you'll want the mink to enter the box through the front forcing it to walk through the trap.
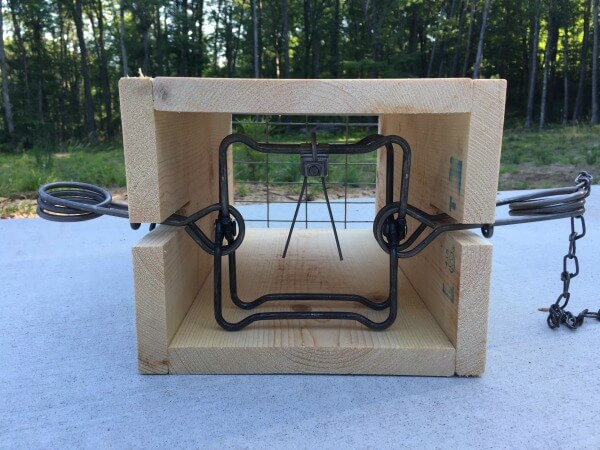
When setting the trap, the two springs will slide through the slots you cut into the sides which will hold and stabilize the trap.
I like to bend the springs up a little bit once they're inside the slot to help stabilize the trap.
I also like to put the trigger to the inside of the box which ensures the mink will be further into the trap before it's triggered.
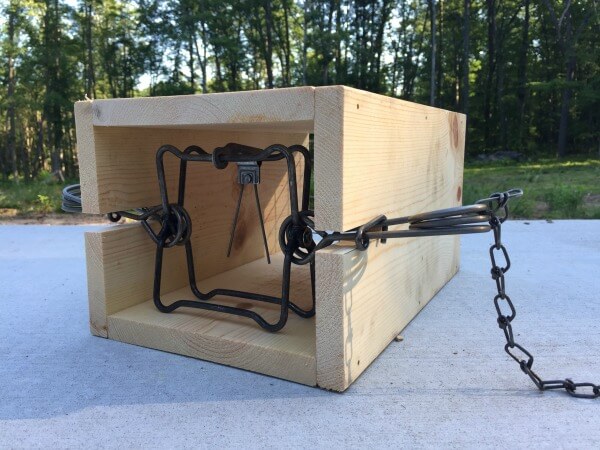
Remember to stake the trap into the ground since it's very likely you'll connect with a raccoon and you don't want to loose the trap.
Also make sure the box is stable and won't rock back and forth when the mink enters the box. Taking a couple of sticks and cross staking the box works well and it's quick and easy.
Although it's not necessary, I like to use some nearby grass or brush to slightly cover the box.
This helps hide the trap from possible trap thieves and it also makes it look more natural.
Mink Box Plans - Overall
Using these mink box plans provides a great way to add some variety to your mink trapping sets and they work really well, especially later in the season when the water starts to freeze and you need a good set that is protected from the ice and snow.
The box is easy to make and it only costs about $5 in total supplies to construct.

Recent Articles
-
The Best Spray For Bed Bugs - Top Reviews And Natural Remedies
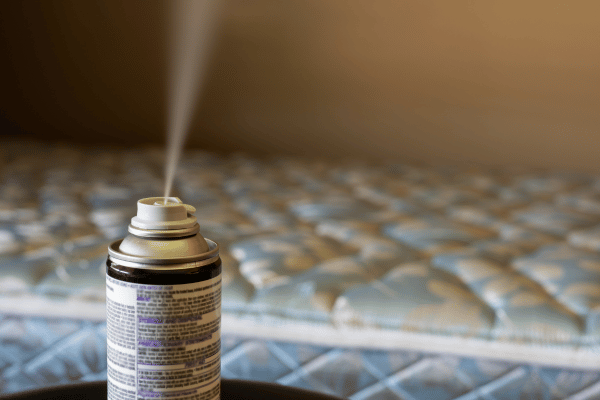 How to choose and apply the best spray for bed bugs at home to kill them instantly. Learn if sprays work better than heat or diatomaceous earth for bed bugs.
 -
6 Best Essential Oils For Ants - Get Rid Of Ants Naturally
 Are essential oils for ants the best way to naturally remove them from your home? Learn how to use peppermint, cinnamon and other oils to get rid of ants fast.
 -
Trapping Pocket Gophers - How To Get Rid Of Them
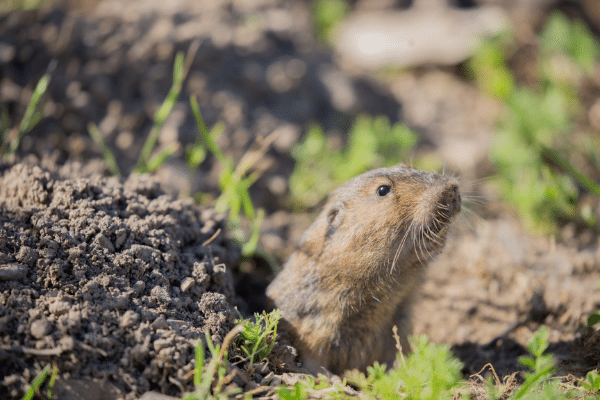 Learn the best tips and ideas for trapping pocket gophers in your lawn, field or garden. Explains how to locate a tunnel and properly set an effective trap to kill a gopher.